

There’s a version of “clean air” that gets marketed to you in sleek packaging with a high price tag, and then there’s the version that actually gets the job done. Most people assume that improving indoor air quality requires investing in a top-tier system, something with multiple filters, sensors, and an app. But the reality is simpler. If your goal is to reduce the air you’re breathing every day, there are low-cost, highly effective ways to do so, and one of the most practical is a DIY setup built from a standard box fan and a high-quality filter.
This approach has been circulating for years, especially during wildfire seasons and in spaces where people needed quick, affordable air filtration. When done correctly, it can significantly reduce airborne particles like dust, smoke, pollen, mold spores, and even some microplastics that circulate indoors. It’s not a complete replacement for every air purifier on the market, but in terms of cost-to-performance, it’s one of the most efficient upgrades you can make.
Why Indoor Air Quality Deserves More Attention Than It Gets
Most people don’t think much about the air inside their home. It feels safe by default. But indoor air is often more polluted than outdoor air, especially in tightly sealed or poorly ventilated spaces. Everyday activities contribute to this. Cooking releases particles and gases into the air. Cleaning products can introduce volatile compounds. Furniture, flooring, and synthetic materials slowly off-gas over time. Even just moving around your home stirs up dust and particles that settle into fabrics and surfaces.
That’s where small improvements start to matter. Reducing the overall particle load in your air can affect how you feel, how you sleep, and how your respiratory system handles constant exposure.
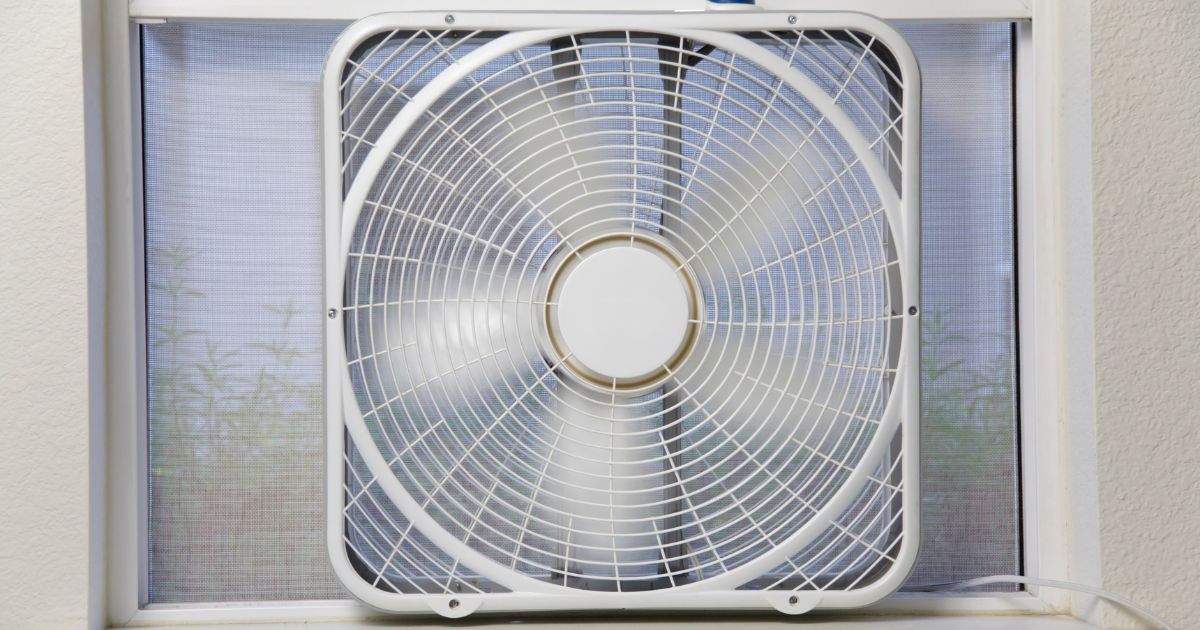
The Simple Setup That Changes the Equation
At its core, this DIY air filter is straightforward. You’re combining a fan that moves air with a filter that captures particles. That’s all an air purifier really is. The difference is that you’re building it yourself with readily available materials.
Here’s what you need. A standard 20-inch box fan, the kind you can find at most hardware stores. A MERV 11 to 13 air filter, which determines how fine the particles are that get captured. And something to secure the filter to the fan, usually bungee cords, though strong tape can work if that’s what you have on hand.
The assembly matters, but it’s simple. Every air filter has an arrow printed on its frame that indicates the airflow direction. That arrow should point toward the fan, not away from it. The filter needs to sit on the intake side, so the fan pulls air through the filter rather than pushing unfiltered air into the room. Once it’s aligned correctly, secure it tightly so there are no major gaps where air can bypass the filter.
That’s it. No complicated setup, no calibration. Plug it in, and it starts working immediately.
What This Setup Actually Does Well
The effectiveness of this system depends on airflow and filtration. A box fan moves a large volume of air, often more than smaller consumer air purifiers. When you pair that airflow with a MERV 11 to 13 filter, you’re able to capture a wide range of airborne particles.
This includes common indoor irritants like dust and pollen, which constantly circulate indoors. It also includes smoke particles, which are smaller and harder to capture but still within range for higher-rated filters. Mold spores, which can become airborne and spread through a home, are another target. There’s also growing awareness of microplastics in indoor environments, and while not all filters are designed specifically for them, reducing overall particulate matter helps lower exposure to them as well.
What this setup doesn’t do is remove gases, odors, or volatile organic compounds. That typically requires activated carbon or more specialized filtration that can be added.
Where It Fits Compared to Traditional Air Purifiers
It’s worth being clear about what you’re getting. A DIY box fan filter doesn’t come with sensors, air quality indicators, or automatic adjustments. It’s manual. You turn it on, and it runs at a constant speed. It’s also usually louder than high-end purifiers, depending on the fan you use.
But in terms of raw air cleaning capacity, it holds its own. In some cases, it can move more air per minute than compact air purifiers that cost significantly more. That makes it especially useful in larger rooms, shared spaces, or situations where you need a quick solution without waiting for a shipment or making a bigger investment.
It’s also a good entry point. If you’ve been putting off improving your air quality because of cost, this removes that barrier. You can build one, use it, and decide later whether to upgrade or expand.
How to Use It Effectively in Your Space
Placement matters. You want to position the fan where it can circulate air freely, not pressed up against a wall or blocked by furniture. Central locations in a room tend to work best, but even placing it near where you spend most of your time can make a difference.
Run it consistently, especially during activities that increase indoor particles, such as cooking and cleaning, or when windows are closed for long periods. If outdoor air quality is poor, this becomes even more useful, as it helps reduce what’s coming inside and what’s already circulating.
Filters need to be replaced periodically. Over time, they collect dust and particles, which reduces airflow and effectiveness. How often you change it depends on usage and air quality, but checking it every few weeks gives you a good sense of when it’s time.
Why This Kind of Solution Matters
There’s a tendency to overcomplicate health-related changes, especially when they’re tied to products. The assumption is that better outcomes require more expensive tools. Sometimes that’s true, but not always.
This setup works because it focuses on function. Move air, filter particles, repeat. It doesn’t try to do everything, but what it does, it does well enough to make a noticeable difference.
It also reinforces a broader idea that shows up in every part of a non-toxic approach. You don’t need to do everything at once. You don’t need perfect conditions. You just need to make improvements where you can, using what’s available to you.
References:
- Vijayan, V. K., Paramesh, H., Salvi, S. S., & Dalal, A. A. (2015). Enhancing indoor air quality – The air filter advantage. Lung India, 32(5), 473–479. https://doi.org/10.4103/0970-2113.164174
Erratum in: Lung India. 2016 Nov-Dec;33(6):705. https://doi.org/10.4103/0970-2113.192883
PMID:26628762 | PMCID:PMC4587002 - Sublett, J. L. (2011). Effectiveness of air filters and air cleaners in allergic respiratory diseases: a review of the recent literature. Current Allergy and Asthma Reports, 11(5), 395–402. https://doi.org/10.1007/s11882-011-0208-5PMID:21773748 | PMCID:PMC3165134

